Frame Cross Stitch
Hey there! Let's talk about how to frame cross stitch and embroidery. If you're a creative soul who loves working on these beautiful needlework projects, you know how satisfying it is to complete one. But what's even more satisfying is being able to display your masterpiece for all to see. That's where framing comes in. In this post, I'll guide you through the process of framing your cross stitch or embroidery project so you can showcase your hard work. So, let's get started!
First and foremost, it's crucial to choose the right frame for your project. The frame you choose should complement your design and enhance its beauty. You can opt for a classic wood frame, a sleek metal frame, or even a decorative frame with intricate details. Whatever your style, make sure the frame is sturdy and of good quality to protect your artwork.
Preparing Your Cross Stitch or Embroidery Project
Before you start framing, you need to prepare your cross stitch or embroidery project. Here's what you need to do:
1. Clean and Press
Take a moment to ensure that your project is clean and free of any dirt or stains. Gently wash it using a mild detergent if necessary. After cleaning, press your project with a clean iron on a low setting to remove any wrinkles. Be careful not to apply too much heat to avoid damaging the threads.
2. Trim Excess Fabric and Threads
Trim the excess fabric around your design, leaving a border of about 1-2 inches. This will make it easier to position your project within the frame later on. Additionally, carefully trim any loose threads or knots to give your piece a neat and polished look.
3. Use Acid-Free Materials
When framing your cross stitch or embroidery, it's essential to use acid-free materials. Acid can cause discoloration and damage to your artwork over time. Look for acid-free mounting boards, mats, and tapes to ensure long-lasting preservation of your project.
Framing Your Cross Stitch or Embroidery Project
Now that you've prepared your project, let's move on to the actual framing process:
1. Position Your Project
Start by centering your cross stitch or embroidery project on the acid-free mounting board. Make sure it is straight and not crooked. You can use small pieces of acid-free tape to secure the fabric onto the board, ensuring it stays in place during framing.
2. Matting
Adding a mat around your project can enhance its visual appeal and provide a professional touch. Measure the dimensions of your project and cut a mat according to those measurements. The mat should have an opening that perfectly fits your design. Place the mat over your project and secure it to the mounting board with acid-free tape.
3. Frame Assembly
Now it's time to assemble the frame. Remove the glass or plexiglass from the frame, and insert your mounted cross stitch or embroidery project. Make sure it fits snugly. If you prefer to have a glass barrier to protect your artwork, place it over the project before securing the frame tightly.
4. Secure the Frame
Using the appropriate tools, secure the frame tightly to keep your project in place. Make sure the frame is sturdy and the corners are aligned correctly. You can use framing points, screws, or nails, depending on the type of frame you have chosen.
5. Finishing Touches
Once your cross stitch or embroidery project is securely framed, it's time for the finishing touches. Check for any dust particles or smudges on the glass, and clean them off with a soft cloth. Finally, attach a hanging mechanism, such as a wire or sawtooth hanger, to the back of the frame, allowing you to display your artwork on the wall.
Benefits and Advantages
Framing your cross stitch or embroidery project offers several benefits and advantages:
- Protection: Framing your project with high-quality materials keeps it safe from dust, dirt, and potential damage. It helps preserve your artwork for years to come.
- Display: A frame adds a professional and polished look to your cross stitch or embroidery piece. It transforms it from a craft project into a work of art that can be proudly showcased.
- Customization: With various frame options available, you can choose a style that matches your project and personal aesthetic. The right frame can complement your design and make it stand out.
- Longevity: Acid-free materials used in framing prevent discoloration and deterioration of your artwork over time. This ensures that your project remains vibrant and beautiful for years to come.
In conclusion, framing your cross stitch or embroidery project is a crucial step in displaying and preserving your hard work. By following the steps outlined in this post, you can ensure that your artwork is showcased beautifully and protected from any potential damage. So, go ahead and frame your masterpiece, and let it grace your walls for everyone to admire!
People also ask:
Q: How much does it cost to frame a cross stitch project?
A: The cost of framing a cross stitch project can vary depending on the size of the project, the type of frame and matting chosen, and the location. On average, framing a cross stitch project can cost anywhere from $30 to $100.
Q: Can I frame cross stitch without glass?
A: Yes, it is possible to frame cross stitch without glass. However, keep in mind that without the protection of glass, your cross stitch project may be more susceptible to dust, dirt, and potential damage over time.
If you are looking for How to Frame Your Cross Stitch | FeltMagnet you've came to the right place. We have 25 Pictures about How to Frame Your Cross Stitch | FeltMagnet like Cross Stitch Frame – Columbia Frame Shop, Cross Stitch Frame – Columbia Frame Shop and also FREE Tutorial - How To Frame Cross Stitch in a Hoop. Here it is:
How To Frame Your Cross Stitch | FeltMagnet
 feltmagnet.com
 stitch cross frame framing framed projects stitching work finished project feltmagnet
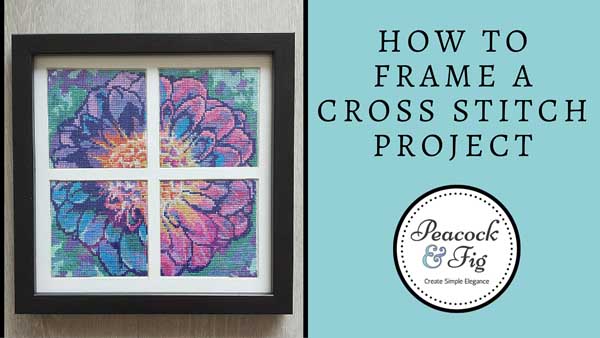
How To Frame Cross Stitch And Embroidery - Peacock & Fig
peacockandfig.com frame stitch cross embroidery
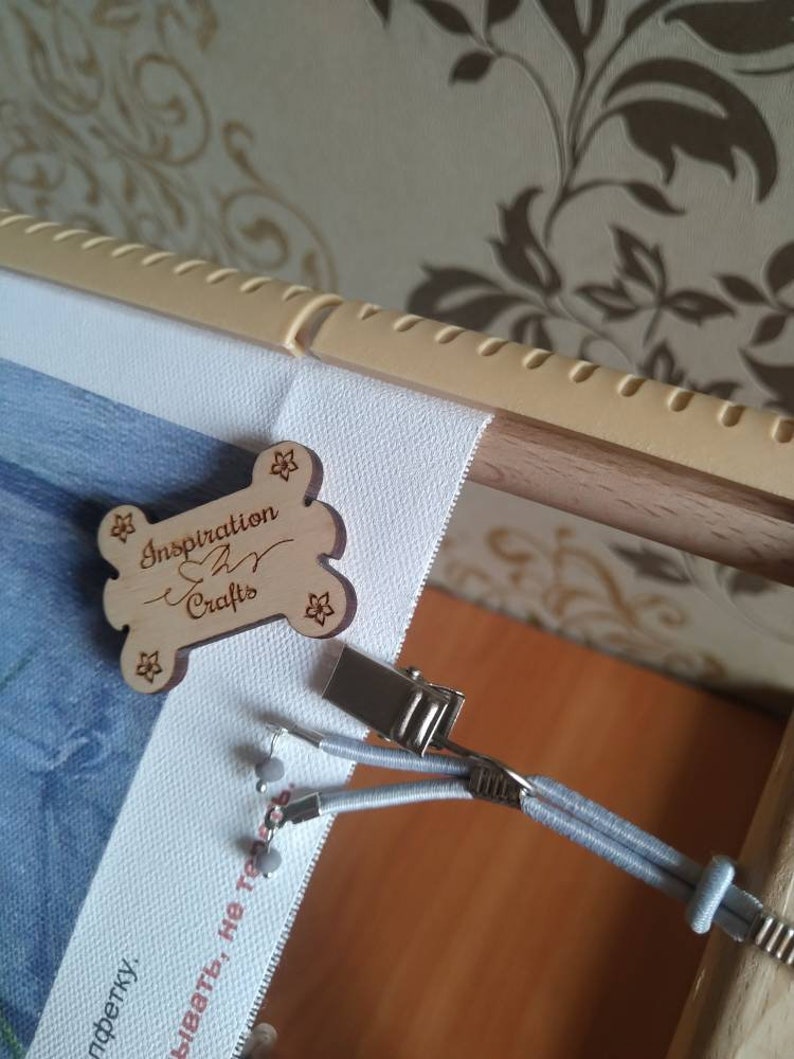
How To Frame Your Own Cross-Stitch Using The Lacing Method
 www.thread-bare.com
 cross stitch frame thread lacing method own using framing fabric
Cross Stitch Frame – Columbia Frame Shop
 www.columbiaframeshop.com
 cross stitch frame stitches antique shop columbiaframeshop framed form contact
Cross Stitch Frame – Columbia Frame Shop
 www.columbiaframeshop.com
 cross stitch frame framed stitches columbiaframeshop
Cross-stitch-frame – Free Cross Stitch Patterns
 crosstitch.xyz
 cross frame stitch patterns
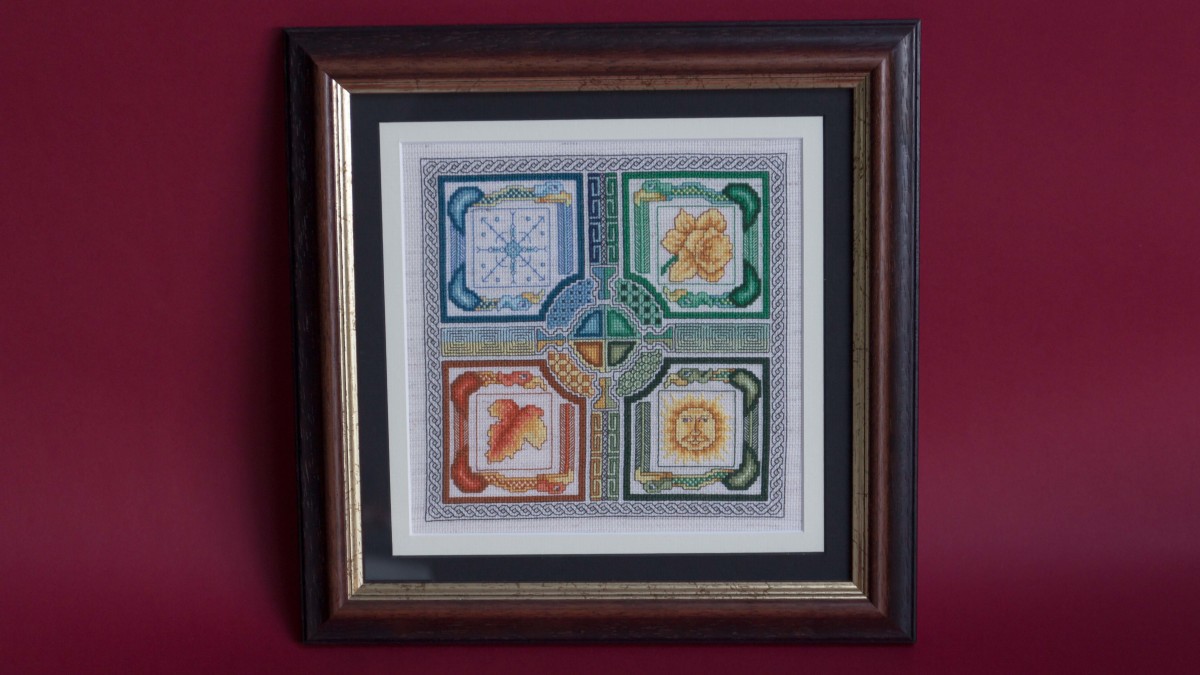
Antique Embroidery Pattern - Cross Stitch Wreath & Frame - The Graphics
 thegraphicsfairy.com
 Love The Frame And Mounting Of The Cross Stitch Piece. Well Done
 www.pinterest.ca
 mounting
FREE Tutorial - How To Frame Cross Stitch In A Hoop
 lucieheaton.com
 hoop lucieheaton patterns embroidery
Pin By Renee Schroeder On Cross Stitch-Framing | Cross Stitch Framing
 www.pinterest.com
 How To Frame Cross Stitch And Embroidery Using Sticky Board - Stitched
 stitchedmodern.com
 stitch cross frame embroidery board sticky using mount fitzgerald susan june
So Many Things To Do, So Little Time: DIY Cross Stitch Scroll Frame
 katthecraft.blogspot.com
 frame scroll diy stitch cross
Flower Frame Cross Stitch Pattern Border Cross Stitch Pattern - Etsy
 www.etsy.com
 Body, Mind, Spirit, And STAMPS!: 'Welcome' Cross-stitch Frame
 bodymindspiritandstamps.blogspot.com
 stitch cross frame welcome stamps spirit mind body
Cross Stitch Scroll Frame - Cross Stitch Patterns
 easycrossstitchpatterns.blogspot.com
 crossstitch
How To Frame A Cross Stitch Quick And Easy – Sugaridoo
 www.sugaridoo.com
 stitch cross frame quick easy sugaridoo need frame5
Cross Stitch Frame – Columbia Frame Shop
 www.columbiaframeshop.com
 cross stitch frame framed filed tagged italian under columbiaframeshop
How To Frame A Cross Stitch Quick And Easy – Sugaridoo
 www.sugaridoo.com
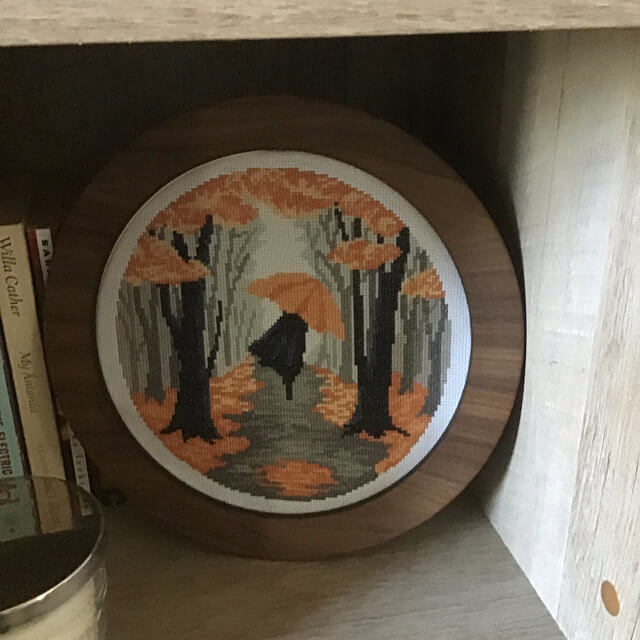
 stitch cross frame quick easy circle sugaridoo finish work frame3
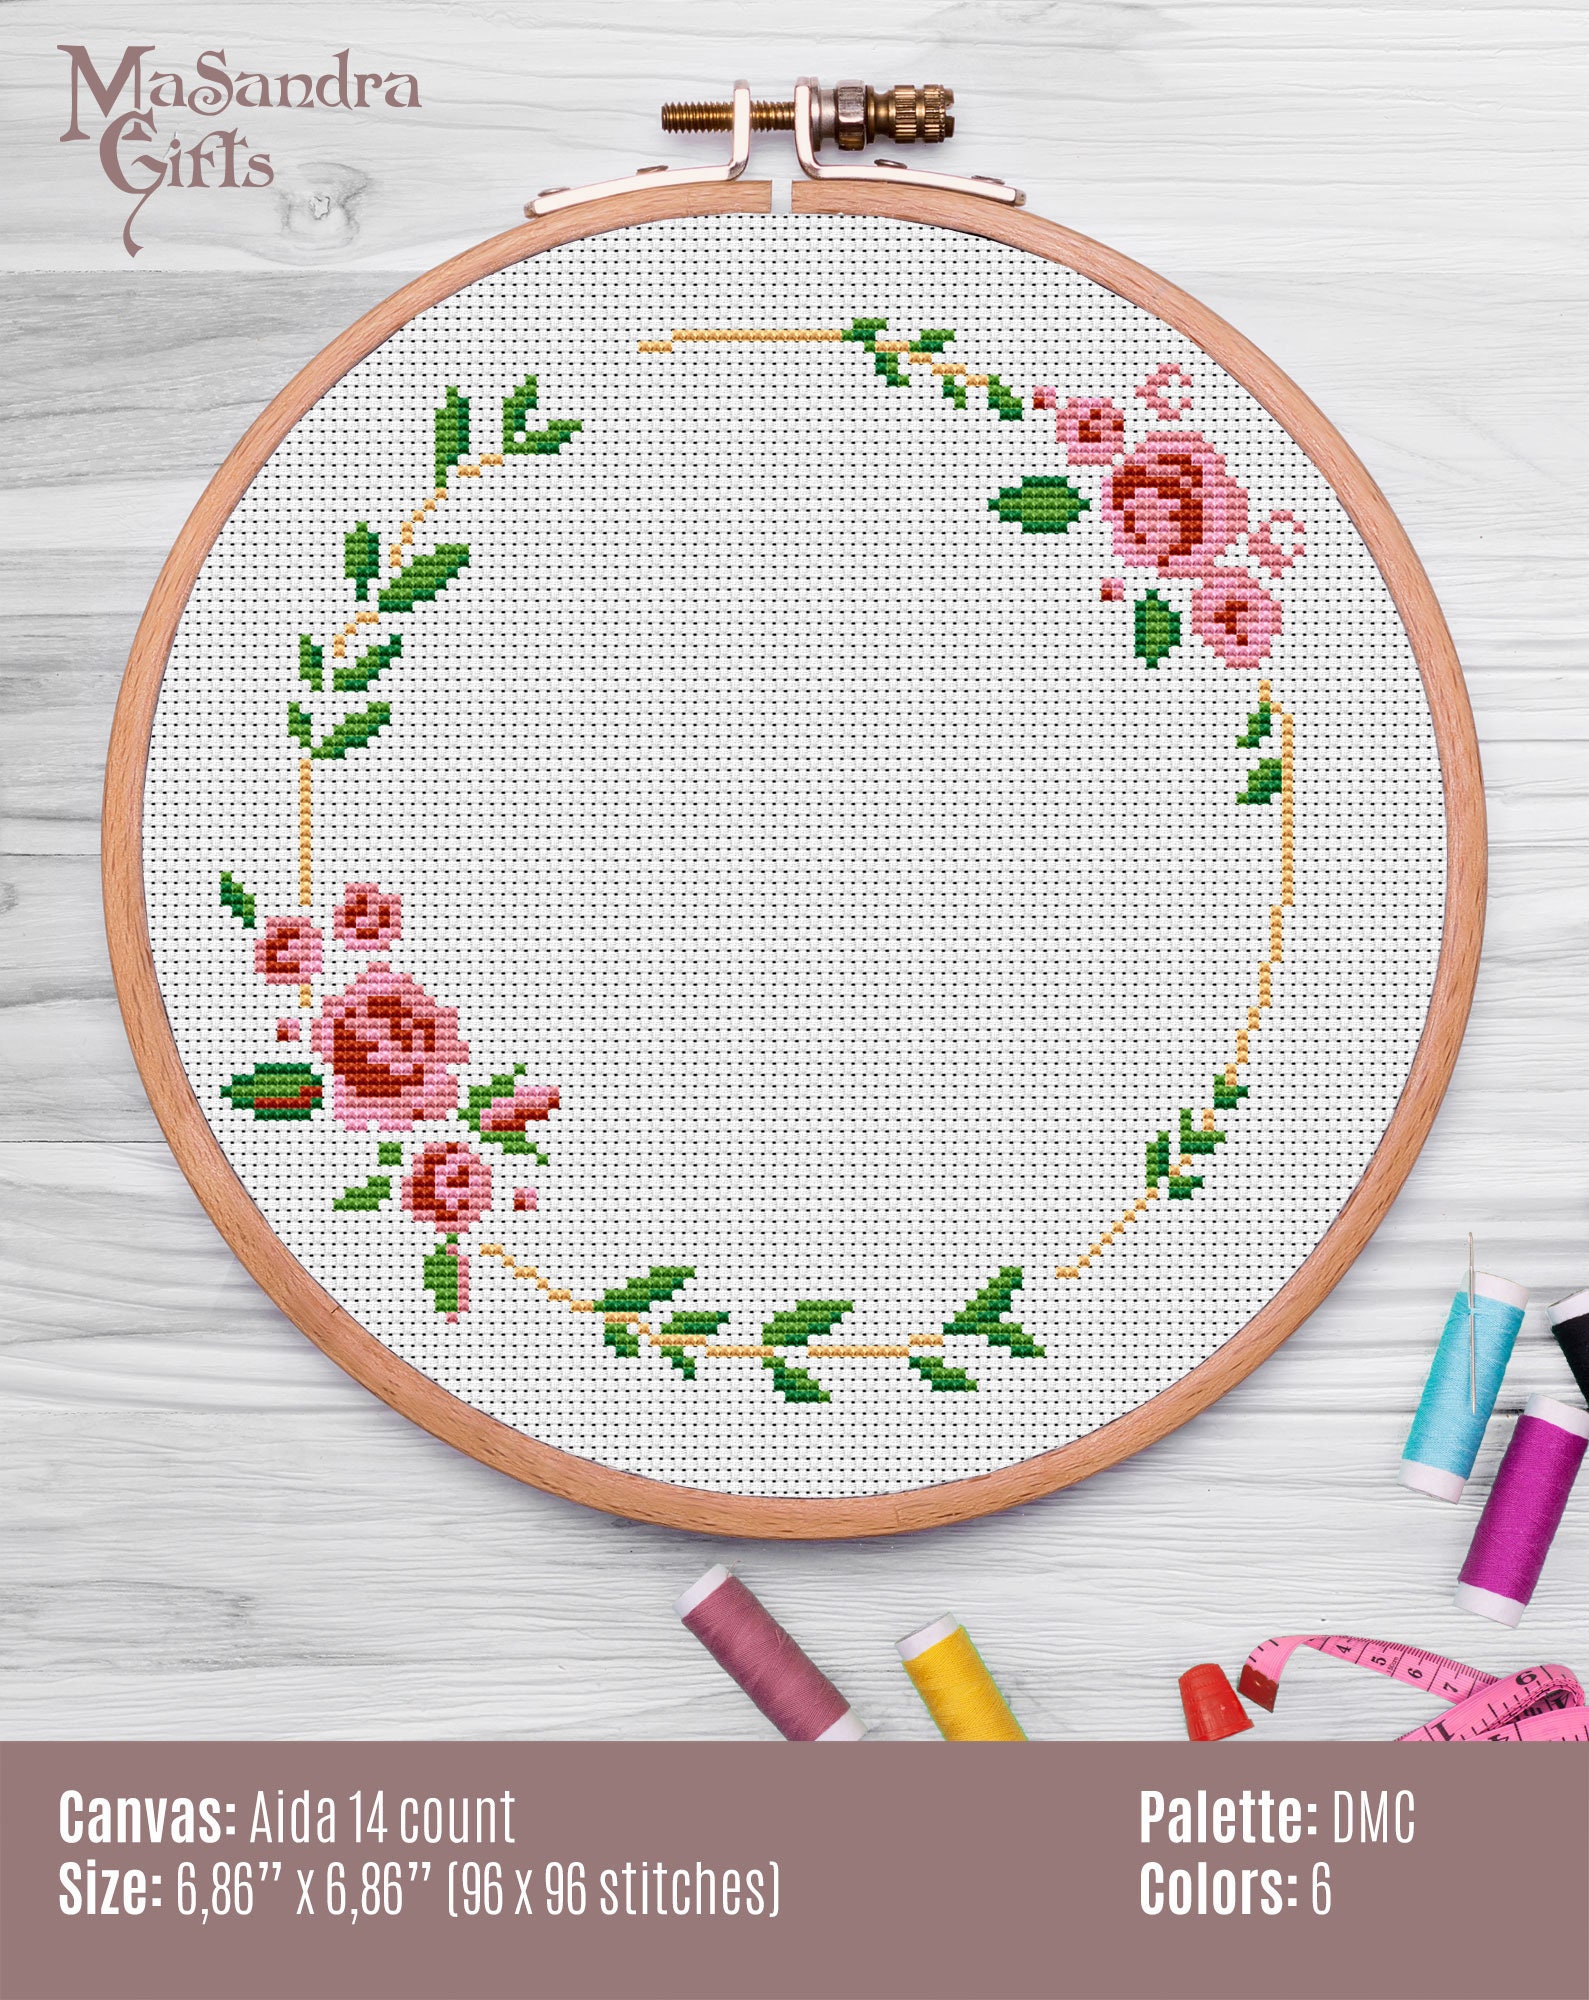
Rose Frame Cross Stitch Pattern – Daily Cross Stitch
 dailycrossstitch.com
 stitch cross frame pattern rose florals decorative dailycrossstitch
Unique Ways To Frame Your Cross Stitch | Lord Libidan
 lordlibidan.com
 framing francy
Embroidery Frame Stitching Frame Cross Stitch Frame Bead - Etsy
 www.etsy.com
 How To Frame A Cross Stitch: 7 Steps (with Pictures)
 www.instructables.com
 cross stitch frame funny stitches instructables own frames choose board friends
How To Frame Your Small Cross Stitch Design In 7 Easy Steps - Hannah
 hannahhandmakes.com
 step edges framing
Cross Stitch Frame (Round – 23 Cm) – Hobbyware Shop
 hobbywareshop.com
 Simple Custom Frame (for Needlework Projects) - Sugar Bee Crafts
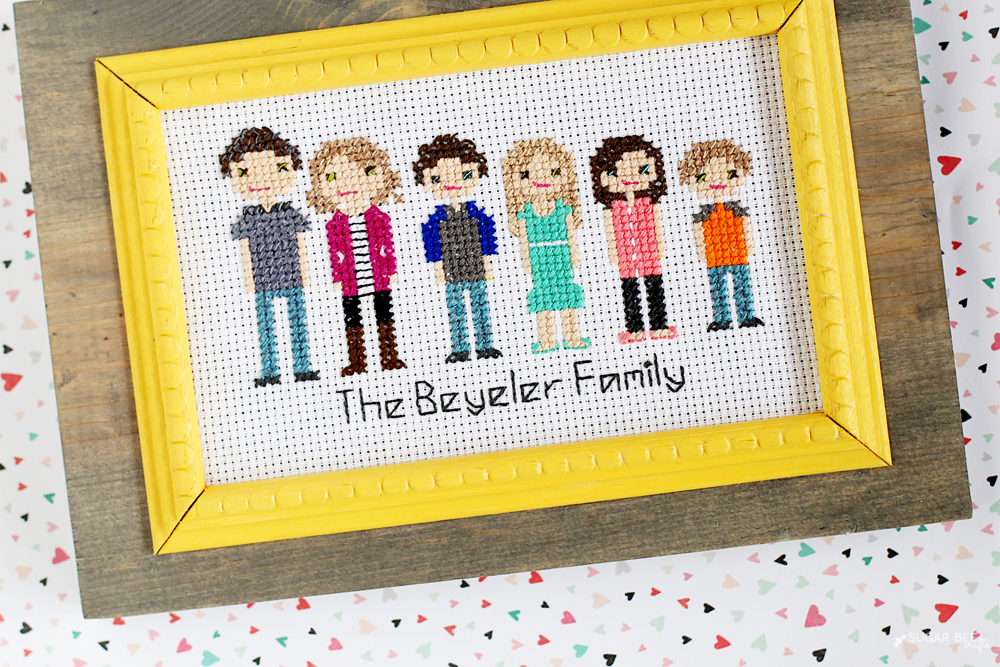 www.sugarbeecrafts.com
 frame stitch cross projects custom simple people needlework frames family so
Cross stitch frame thread lacing method own using framing fabric. How to frame a cross stitch: 7 steps (with pictures). Cross stitch frame – columbia frame shop
Post a Comment for "Frame Cross Stitch"
Post a Comment